Guest writer Marilyn has an awesome Disney DIY for us! -Nicole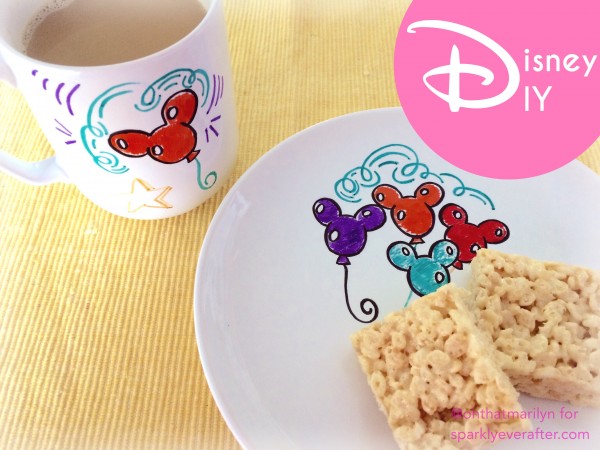
Hi, friends! Today we are going to “Disney It Yourself” here at Sparkly Ever After. Now, if you’re a Pinterest junkie, like myself, I’m sure you’ve seen the famous Sharpie marker mugs. Well I thought this would be a perfect Disney project. So let’s get started!
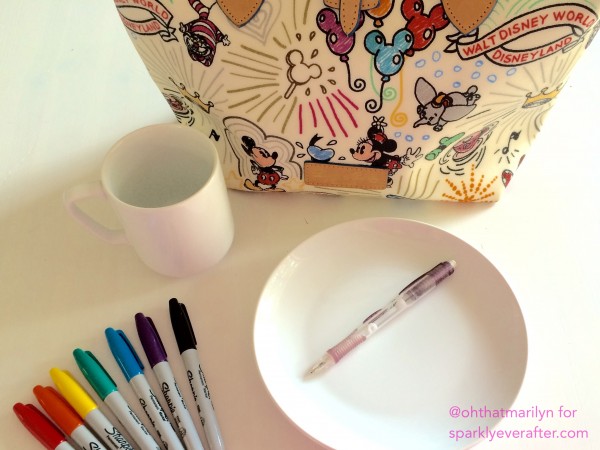
Things you’ll need:
•Sharpie permanent markers
•Pencil
•Mug and/or plate in white (the cheaper the better. Dollar store dishes usually have less enamel and therefore the marker will adhere better.)
•Windex or other ammonia based cleaner
•Oven
•Your imagination!
First you’ll want to wipe down your mug or plate surface with an ammonia based cleaner to remove any oils or residue. Then, using a pencil, lightly sketch out your design. Don’t worry, the pencil will wash right off so do what you gotta do to get the design to look the way you want. I used my favorite Disney Dooney & Bourke pattern for a couple reasons. One- I adore it. Two- because of its design, it doesn’t need to be perfect. Which means any of you can also do this!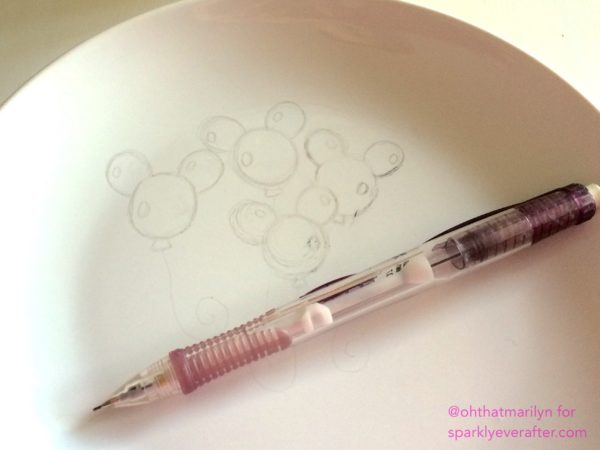
Next step is to color!! Have fun filling in your design.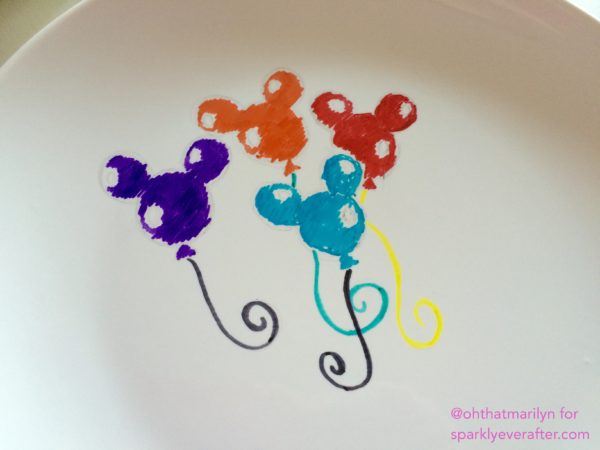
How did you do? Did you make an oops? No? Great!! Yes? No worries! You can easily wash off the marker with some warm soapy water before its baked. (You got this!)
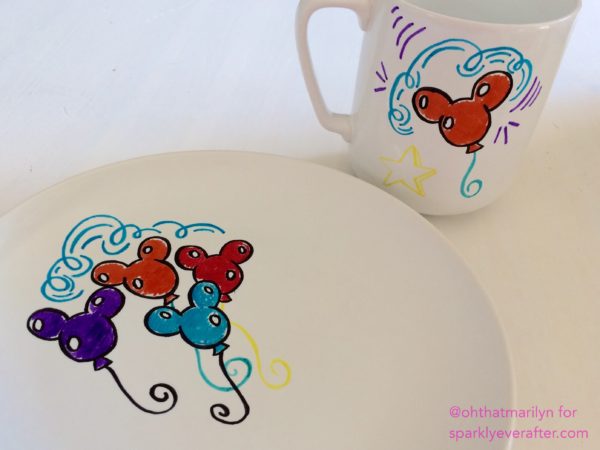
Since I chose to do the balloon design, I filled in the color first giving it that famous sketch look. Then used my black Sharpie to outline it and bring it to pixie dusted perfection.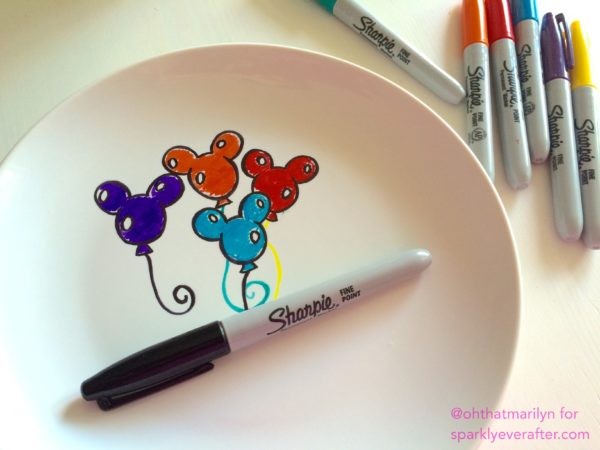
Once you have your piece(s) the way you want them, it’s time to let them sit. Overnight. Really let that marker set. The next day you’ll preheat the oven to 350 and bake. When 30 minutes is up, turn off the oven, crack the door and allow to cool completely before removing.
And there you have it! Now, the Sharpie marker is somewhat controversial amongst dishwasher lovers. I highly recommend treating your handcrafted pieces like good china and wash them gently by hand. It’s a fun little, affordable craft. Maybe you won’t even use it for food. Use the pieces to hold change or jewelry.
Until next time, stay crafty, my friends!

Adorable!! These came out so cute! I’m going to Pin this and give this technique a try 🙂
This is SO cute! I love this idea. I can totally get behind a Disney It Yourself project. Next weekend I know what I’m doing.